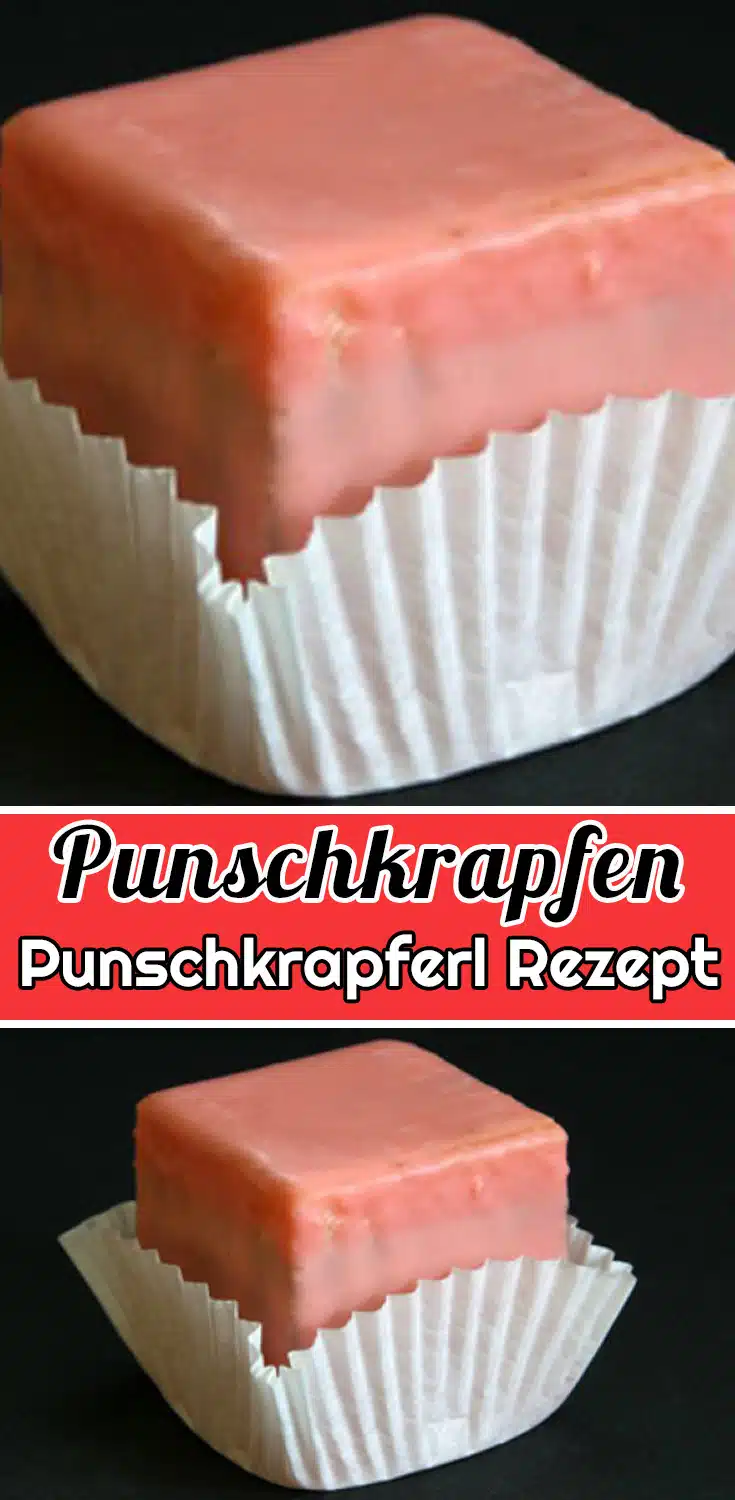
Punschkrapfen – Punschkrapferl Rezept
Punschkrapfen Rezept – Mein liebster Klassiker für besondere Anlässe
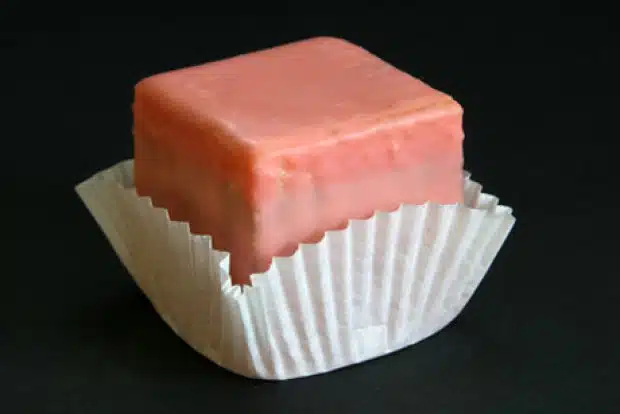
Wer das punschkrapfen rezept sucht, hat meist eine ganz bestimmte Vorstellung: kleine, rosa Glücklichmacher, die nach Kindheit, Kaffeehaus und festlichen Nachmittagen schmecken. Auch ich habe mich lange daran versucht, das Geheimnis hinter dem original punschkrapfen aus Österreich zu knacken. Und ja, es war ein Weg voller kleiner Fehler, süßer Überraschungen und – ganz wichtig – vieler Lerneffekte.
Warum liebe ich dieses Rezept so? Vielleicht, weil es nicht nur ein Gebäck ist, sondern ein Stück österreichischer Lebensfreude. Punschkrapferl selber machen bedeutet für mich: Zeit nehmen, Erinnerungen schaffen und Gäste zum Staunen bringen. Klingt nach viel Aufwand? Ehrlich, mit ein bisschen Übung ist es halb so wild!
Was steckt hinter dem Wunsch nach einem punschkrapfen rezept?
Viele suchen ein punschkrapfen rezept, weil sie sich nach dem echten Geschmack aus der Konditorei sehnen – aber zu Hause. Vielleicht kennst du das: Die Gekauften sind oft zu süß, zu künstlich oder einfach nicht saftig genug. Selber machen heißt, du entscheidest, wie intensiv der Punsch schmeckt, wie luftig der Biskuit wird und wie dick die rosa Glasur auf dem kleinen Würfel landet.
Und was noch? Du willst vielleicht wissen, ob es kompliziert ist, punschkrapfen backen zu Hause zu meistern. Ich kann dich beruhigen: Ja, es gibt ein paar Kniffe, aber mit meiner Erfahrung und ein paar ehrlichen Tipps gelingt es dir bestimmt.
Meine Erfahrungen: Was ich auf dem Weg zu perfekten Punschkrapferln gelernt habe
Als ich das erste Mal Punschkrapferl selber gemacht habe, war ich total überfordert mit dem Biskuit. Ich habe die Eier zu wenig aufgeschlagen, der Teig war platt wie ein Pfannkuchen. Beim zweiten Mal war die Füllung zu nass – der ganze Kuchen schwamm quasi im Alkohol (meine Familie hat herzlich gelacht, aber wirklich essbar war’s nicht).
Erst mit der Zeit habe ich verstanden: Jede Zutat, jeder Handgriff zählt. Besonders beim Schichten und beim Glasieren. Ich hab gelernt, den Biskuit wirklich luftig zu schlagen, die Füllung nicht zu übertreiben und das Fondant nicht zu heiß werden zu lassen (sonst läuft es davon!). Klar, manchmal geht was daneben – aber das gehört dazu, oder?
Worauf es beim original punschkrapfen wirklich ankommt
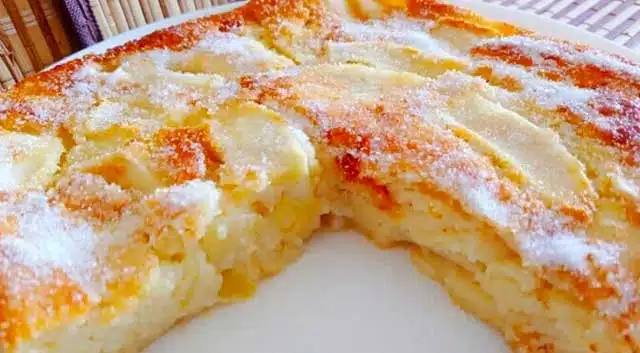
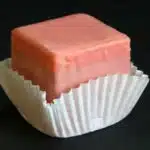
Ein echter original punschkrapfen aus Österreich braucht drei Dinge: Lockerer Biskuit, eine saftige Punschfüllung und diese unverkennbare rosa Glasur. Die Kombination macht’s. Und der Duft von Zitronenschale, Aprikose und ein Hauch Grand Marnier – da läuft mir schon beim Schreiben das Wasser im Mund zusammen!
Die Zutaten sind das A und O. Hier halte ich mich sklavisch an mein bewährtes Rezept, das ich dir gleich verrate. (Keine Sorge, die Zubereitung erkläre ich Schritt für Schritt – so schaffst du das locker.)
Du brauchst für den Teig und die Füllung:
- 6 eggs (separated)
- 240 g powdered sugar
- 1 packet vanilla sugar
- 1 lemon, zest grated
- 1 pinch salt
- 200 g flour (type 480)
- 150 g apricot jam
- 40 ml Grand Marnier
- 400 g fondant
- Pink food coloring
- A splash of water
Zubereitung:
- Separate the eggs, placing the yolks in one bowl and the whites in another.
- In a large mixing bowl, combine the egg yolks, powdered sugar, vanilla sugar, and grated lemon zest. Beat the mixture for at least 4 to 5 minutes with an electric mixer or whisk until it becomes light, pale, and creamy. This step is essential to achieve a fluffy sponge base.
- In a separate clean bowl, beat the egg whites with a pinch of salt until stiff peaks form. This will help the sponge to rise and stay airy.
- Gently fold the flour into the creamy egg yolk mixture, being careful not to deflate it. Next, carefully fold in the beaten egg whites in two or three additions, using a spatula, until the batter is smooth and homogeneous.
- Line a baking sheet with parchment paper and evenly spread the batter onto it, smoothing the surface with a spatula. Bake the sponge in a preheated oven at 200°C (392°F) for about 8 to 10 minutes, or until it is lightly golden and springs back when touched.
- Remove the baked sponge from the oven and allow it to cool slightly. Once cooled, cut the sponge into two equal halves to form two cake layers. Trim the edges, saving the cut-off trimmings for the filling.
- Prepare the punsch (punch) filling by cutting the reserved sponge trimmings or any leftover sponge into small cubes. Place these cubes in a bowl and mix them thoroughly with the apricot jam and Grand Marnier. Let this mixture rest for 30 minutes so the flavors can blend and the sponge absorbs the liquid.
- Take one of the sponge cake layers and spread a thin layer of apricot jam over its surface.
- Take the second cake layer and spread the prepared punch filling evenly over it.
- Carefully place the jam-covered layer on top of the punch-filled layer, so that the jam and punch filling are sandwiched between the two layers.
- Place a sheet of parchment paper on top and gently press the assembled cake to compact it slightly. Refrigerate the cake for at least 1 hour to firm up the layers and make it easier to cut.
- Once chilled, use a square or rectangular cutter to cut the cake into individual portions or small cubes, called Punschkrapfen. Collect any scraps for another use.
- Using a pastry brush, evenly coat all sides of each Punschkrapfen with a thin layer of apricot jam. This will help the fondant glaze adhere smoothly.
- Prepare the fondant glaze by placing the fondant in a heatproof bowl. Add a splash of water and a few drops of pink food coloring. Gently warm the mixture over a pot of simmering water or in the microwave, stirring until the fondant is smooth, glossy, and pourable.
- Place the Punschkrapfen on a wire rack set over a tray to catch excess glaze. Pour or spoon the warm pink fondant evenly over each piece, ensuring all sides are coated. Allow the glaze to set completely at room temperature.
- Optionally, decorate the finished Punschkrapfen with additional fondant shapes, sprinkles, or as desired before serving.
Tipps für gelungene Punschkrapferl – Erfahrung macht den Meister
Mein wichtigster Tipp: Lass dem Biskuit Zeit zum Abkühlen, bevor du ihn schneidest. Sonst zerbröselt alles und die Würfel werden schief und krumm (ist mir mehr als einmal passiert!). Und die Füllung darf nicht zu flüssig sein – lieber etwas vorsichtiger mit dem Grand Marnier dosieren, falls du weniger Alkohol willst.
Zum Glasieren: Das Fondant darf nur lauwarm sein. Zu heiß, und die Glasur läuft davon – zu kalt, und sie wird klumpig. Geduld zahlt sich hier wirklich aus! Und nicht zu sparsam mit der rosa Farbe, sonst sehen die Punschkrapferl blass aus. Wer das punschkrapfen rezept öfter ausprobiert, bekommt schnell ein Gefühl dafür.
Fazit: Punschkrapfen backen ist ein Genuss für alle Sinne!
Vielleicht klingt es im ersten Moment aufwendig, aber punschkrapfen backen bringt so viel Freude – und ein bisschen Stolz, wenn die kleinen rosa Würfel auf der Kaffeetafel stehen! Ich liebe es, wie jeder Bissen nach Heimat und Festtag schmeckt. Und mal ehrlich: Wer kann bei selbstgemachten punschkrapferl schon nein sagen?
Probier das punschkrapfen rezept aus, experimentiere ein wenig und mach es zu deinem eigenen Klassiker. Ich verspreche dir, die Mühe lohnt sich. Und falls mal was schiefgeht – keine Sorge, die Familie freut sich trotzdem (und die Krümel schmecken auch!) Viel Spaß beim Nachbacken und lass dich vom Zauber der österreichischen Backkunst begeistern!
Punschkrapferl selber machen: Tipps, Tricks & alles, was du wissen musst
Was sind die häufigsten Fehler beim Punschkrapferl selber machen?
Einer der größten Stolpersteine ist oft das Übermischen des Teigs – der Biskuit wird dann schnell zäh statt locker. Ich rate auch, beim Füllen nicht zu großzügig mit der Flüssigkeit zu sein; zu viel Grand Marnier kann den Kuchen matschig machen. Und wirklich: Lass den Fondant nicht zu heiß werden, sonst wird die Glasur stumpf und läuft davon!
Kann ich Punschkrapfen auch ohne Alkohol backen?
Absolut, das klappt super! Ersetze einfach den Grand Marnier durch Orangensaft oder Apfelsaft mit etwas Zitronensaft. Das Aroma ist dann zwar anders, aber immer noch herrlich fruchtig – so sind die Punschkrapfen auch für Kinder geeignet.
Wie bewahre ich Punschkrapfen am besten auf und kann man sie einfrieren?
Im Kühlschrank halten die Punschkrapfen in einer luftdichten Dose locker 4–5 Tage frisch (falls sie so lange überleben). Zum Einfrieren: Die Stücke einzeln in Frischhaltefolie wickeln und in einen Gefrierbeutel legen. Auftauen am besten langsam im Kühlschrank, dann bleibt die Glasur schön.
Lassen sich Punschkrapferl gut vorbereiten?
Oh ja, ich find sogar, sie schmecken am zweiten Tag fast noch besser! Du kannst die Kuchenbasis und die Füllung problemlos einen Tag vorher machen. Die Glasur solltest du aber erst kurz vor dem Servieren auftragen, dann glänzen die Punschkrapfen am schönsten.
Zu welchen Anlässen passen Österreichische Punschkrapfen besonders gut?
Sie sind ein echter Hingucker auf jeder Kaffeetafel! Besonders beliebt sind Punschkrapfen zu Weihnachten, auf Geburtstagsfeiern oder als süßes Geschenk. Und manchmal gönn ich mir einfach so einen – weil sie gute Laune machen.
Punschkrapfen – Punschkrapferl Rezept
- Total Time: 30
- Yield: 6 Portionen 1x
Description
Zum Anbeißen ist er allemal der Punschkrapfen. Das Allzeit beliebte Rezept finden sie hier für ihre Lieben zu Hause. Schnelle und Einfache Kuchen Rezepte.
Ingredients
- 6 eggs, separated
- 240 g powdered sugar
- 1 packet vanilla sugar
- 1 grated lemon zest
- 1 pinch salt
- 200 g flour (type 480)
- 150 g apricot jam
- 40 ml Grand Marnier
- 400 g fondant
- 1 portion pink food coloring
- 1 splash water
Instructions
- Preheat your oven to 200°C (392°F) and line a baking tray with parchment paper to prevent sticking.
- Separate the eggs, placing the yolks in one bowl and the whites in another. In a large mixing bowl, combine the egg yolks with the powdered sugar, vanilla sugar, and grated lemon zest. Beat the mixture with an electric mixer for at least 4 to 5 minutes until it becomes pale, creamy, and fluffy. This step is crucial for a light sponge.
- In a clean bowl, add a pinch of salt to the egg whites and beat them until stiff peaks form. This will help give the sponge its airy texture.
- Gently fold the flour and the beaten egg whites into the yolk-sugar mixture in several additions, using a spatula or a large spoon. Be careful not to deflate the mixture; use gentle, sweeping motions until the batter is smooth and uniform.
- Pour the batter onto the prepared baking tray and spread it evenly. Bake the sponge cake in the preheated oven for about 8 to 10 minutes, or until the surface is lightly golden and a toothpick inserted into the center comes out clean.
- Remove the sponge from the oven and allow it to cool slightly. Once cooled, cut the sponge into two equal layers. Trim the edges off the sponge to create straight sides; reserve the trimmings for the punch filling.
- For the punch filling, cut the reserved sponge trimmings (and any leftover sponge) into small cubes. Place them in a bowl and mix with 150 g apricot jam and 40 ml Grand Marnier. Stir the mixture thoroughly until the pieces are well moistened and the mixture becomes cohesive. Allow it to rest for 30 minutes so the flavors can meld and the sponge absorbs the liquid.
- Take one sponge layer and spread a thin, even layer of apricot jam over its surface. On the second sponge layer, evenly spread the punch filling mixture all over.
- Carefully place the layer with the punch filling on top of the layer with the jam, so that the jam and the punch filling are sandwiched in the middle. Gently press the two layers together to ensure they stick, but do not compress too much.
- Place the assembled cake in the refrigerator and chill for at least 1 hour to allow it to set and firm up, making it easier to cut.
- After chilling, use a square or rectangular cutter to cut the cake into individual small squares, traditionally about 3-4 cm in size. If you do not have a cutter, use a sharp knife to cut neat squares.
- With a pastry brush, coat all sides of each small cake square with a thin layer of apricot jam. This helps the fondant glaze adhere properly.
- To prepare the fondant glaze, place the fondant in a heatproof bowl. Add a splash of water and a few drops of pink food coloring. Gently heat the mixture over a pot of simmering water (double boiler) or in short bursts in the microwave, stirring frequently until the fondant is smooth and fluid but not too runny.
- Using a fork or a skewer, dip each cake square into the warm pink fondant glaze so that it is completely covered on all sides. Let any excess glaze drip off and place the glazed cakes on a wire rack to set. If desired, use additional fondant or decorations to embellish the tops.
- Allow the Punschkrapfen to set completely at room temperature before serving. Store any leftovers in an airtight container.
Notes
The Punschkrapfen can be further decorated with fondant flowers, chocolate drizzle, or candied cherries for an extra festive touch. For best results, use high-quality apricot jam and allow sufficient chilling time to ensure clean cuts and stable cakes.
- Prep Time: 10
- Cook Time: 20
- Category: Kuchen Rezepte, Dessert Rezepte
Nutrition
- Serving Size: 6 Portionen
- Calories: 300-400
- Sugar: 11-16g
- Sodium: 500-800mg
- Fat: 12-20g
- Saturated Fat: 4-8g
- Carbohydrates: 40-50g
- Fiber: 2-5g
- Protein: 15-25g
- Cholesterol: 60-100mg